recycled-paper-origami
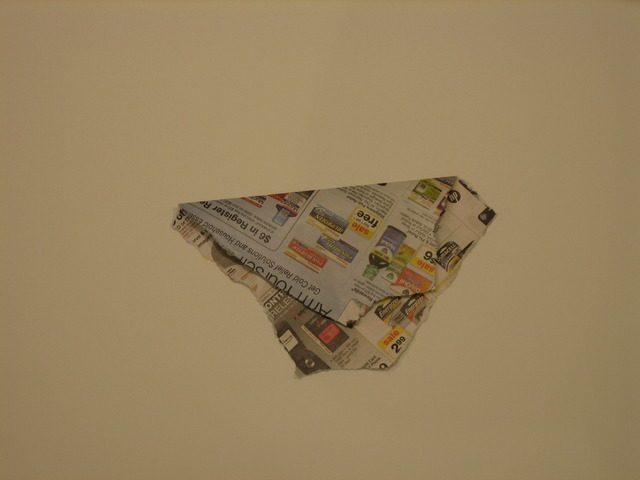
With three judiciously-placed folds, one need only make a single reasonably squared-off cut to turn even an odd-shaped piece of paper into square suitable for at least some origami projects. Until recently, origami has been one of those things I dabbled in only very lightly. I might pick up a few sheets of origami paper and a how-to book and try one or two things, but it was
never anything I thought very much about or made much effort to work on. You know, just another crafts project for the kids, that sort of thing. That is, until last fall. I was looking for polycaprolactone pellets (as found in this christmas-tree-stand repair post) in a local art-supply store. I noticed across the aisle some origami paper displayed for sale. I even bought a small pack of it to bring home, to add to the modest collection of origami paper and how-to booklets we already had. I was struck by how precious paper sold for origami seems, not just in terms of its cost, but that it is often sold apart from other paper in such neat, small, square stacks. It further struck me how antithetical that sense of preciousness can be to the just-do-it, learn-by-making-mistakes impulse. Also, even the large sizes I've seen for sale still can be unforgivingly small for anything requiring very many folds. So, I got to thinking about other facets of origami paper, including how thin it is, how well it takes a crease, and that it often carries a glossy coating with bright, solid colors or bright patterns. I started wondering about other, bulk sources of paper with similar properties, something that would still work as origami paper, but that didn't have that stand-offish prissiness and expense.
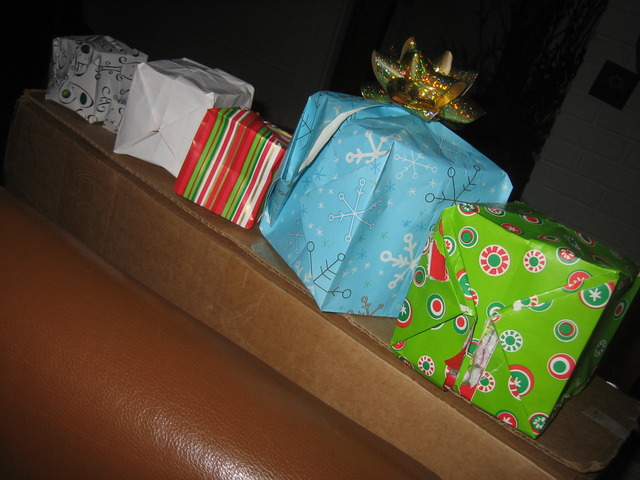
Then it occured to me that gift-wrapping paper very often has similar qualities, except that it comes in rolls rather than neatly square-cut stacks. So, I had an alternate, bulk source of paper, but how to go from rolls to squares? As the holiday season started to ramp up, I began playing around with bits of paper I had around by happenstance. Out for a fast-food lunch, I worked out how to square off the tray liner. No big deal, really: Starting with square sides gives a pretty forgiving starting point. Carefully folding and then tearing a ribbon along one of the rectangle's short edges gives a pretty decent square. I sat in the restaurant with the browser in my smartphone showing instructions for making a cube-shaped paper balloon, and I was on my way. I worked on making cubes here and
there just to drive the technique into my long-term and muscle memory. Finally, giftmas rolled around. We're fortunate to have had family over and plenty of gifts to open. Our giftmas house rules dictate opening gifts one at a time, in rotation--no
free-for all paper-tearing orgies for us. So, as the pageant of consumer excess made its way across our living room floor, I had quite a bit of time between appreciative oohs and ahs to work on my origami-paper-sourcing ideas. I fished out the relatively-cheap drawknife paper cutter
we had from the office and put it at the ready beside my chair. Then I intercepted some of the removed gift paper before it made it to the trash bag, and got to work.
The images shown here are ripped from the glossy paper of a newspaper advertizement, which serves as a source of similar paper year-round.

make them.
wedges arrayed around the center of the square, with creases now along both diagonals. One could cut the outside edges at this point if one can eyeball the required 45-degree cut, but if
using the papercutter there's no good reference edge.
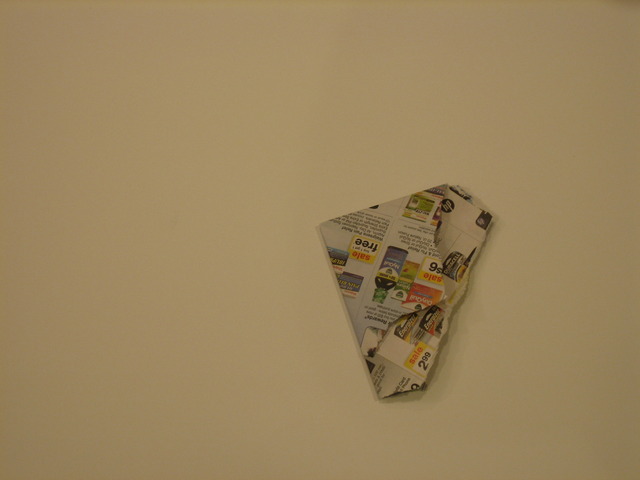
So, we add the third and final fold. This fold takes the nice right angle made above, and folds it in half, bringing the crease from the second fold alongside the edges now all gathered
up previously from the first fold.
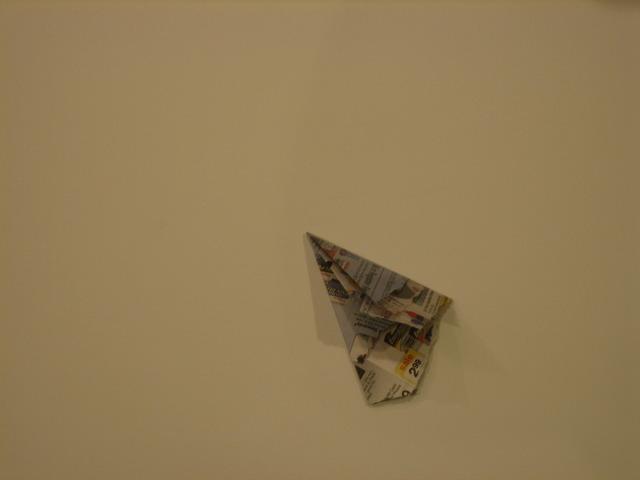
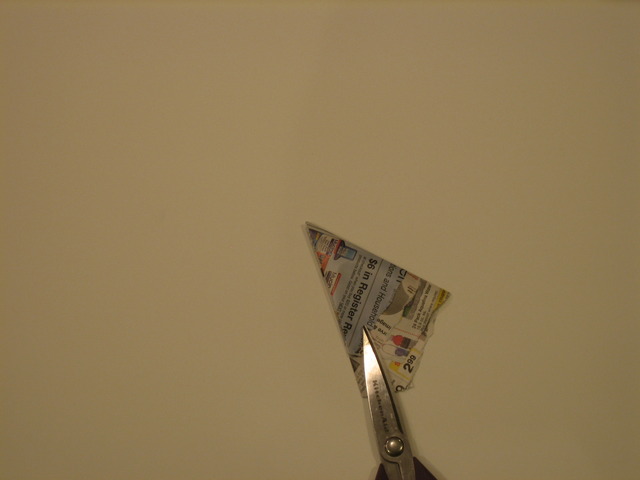
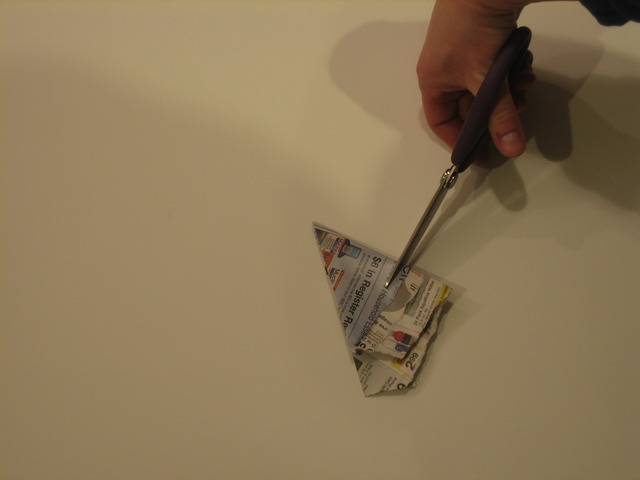
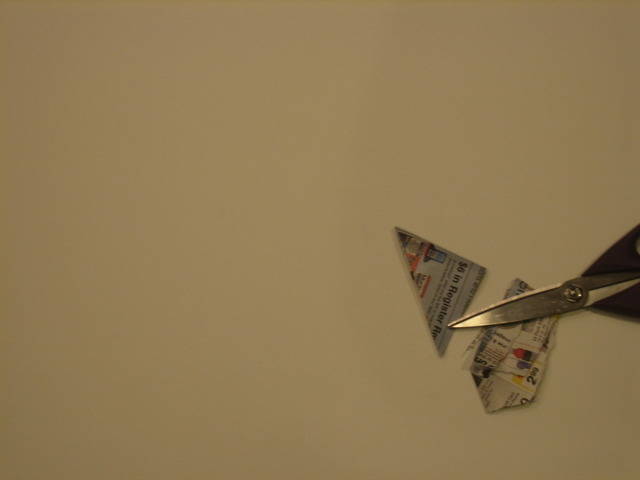
The cut, then, is at right angles to this last fold and, if the papercutter can make it through all 8 layers, the line of this last fold is a great reference to lay along whatever that ledge
on the papercutter is called, perpendicular to the blade. If the piece of paper is not too big, this also is a reasonably easy cut to do free-hand with a pair of scissors.
These three folds together, then, define 8 wedges around the center of the square, when unfolded, with the first two folds defining the diagonals and the third fold dividing the square into four smaller squares.

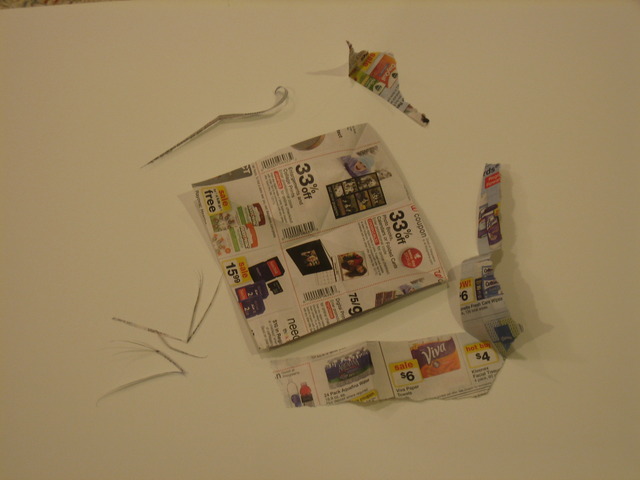
After the single cut, the paper is unfolded to reveal a a piece that is more-or-less square, depending on how precise the folds were and how precise the single trimming cut was. I find that the resulting square is usually good enough for several different projects, and the series of creases that result from this process with only slight adjustments here and there are already appropriately placed for a number of different projects, like this box, for instance.
You can read a slightly different description of my motivations along these lines through the Interlock Rochester site.